
.png)
Your Project Plan for a Website That Actually Delivers
- shems sheikh
- Jan 11
- 17 min read

Think of a website project plan as the master blueprint for your entire build, guiding everything from the first brainstorm to the final launch. It’s the single document that lays out the scope, timelines, milestones, and resources needed to get the job done. Without one, you're just inviting scope creep, blown budgets, and missed deadlines.
Why Your Website Needs a Battle-Tested Project Plan
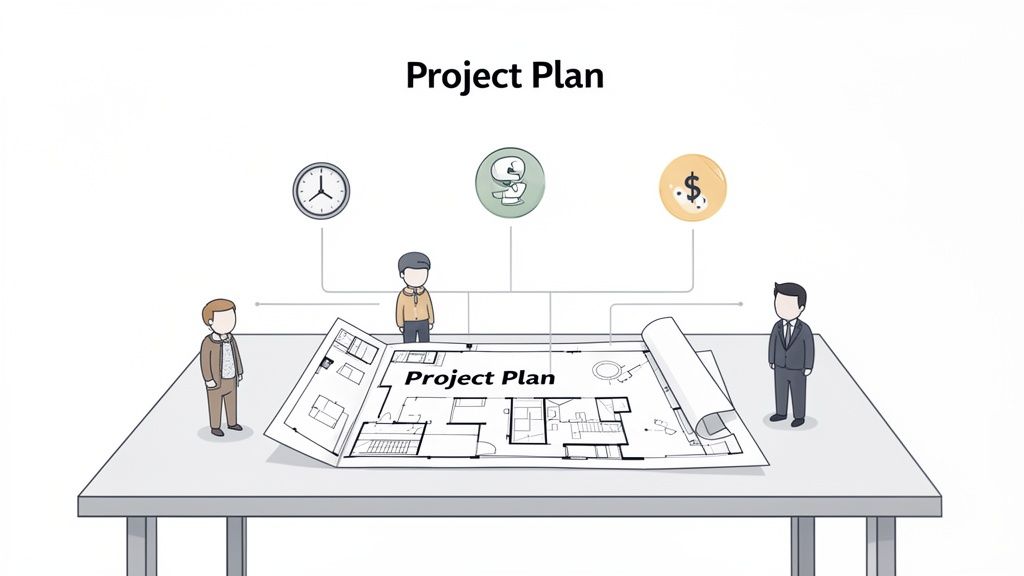
Jumping into a website build without a plan is like starting construction on a house without a blueprint. Sure, you might end up with a structure, but it’s definitely not going to be the one you imagined. It will almost certainly cost more and take way longer than you expected.
A solid project plan is your single source of truth. It’s what keeps your stakeholders, designers, and developers all on the same page by clearly defining what’s being built, why it's being built, and how it’s all going to come together. This kind of clarity is what stops those costly misunderstandings that can derail a project before it even gets going.
The Foundation of a Successful Build
The web development industry is absolutely booming—employment is projected to jump by 16% between 2022 and 2032. With over 252,000 new sites popping up daily and most needing a redesign every 2-3 years, you can see why effective planning is non-negotiable. It’s the only way to manage this constant demand and use your resources wisely.
A well-structured plan is your best defense against the usual project pitfalls. Here’s what it really does for you:
Defines Success: It sets up clear, measurable goals and the criteria for what "done" actually looks like.
Manages Expectations: A good plan is key for communicating timelines and deliverables, which is a massive part of stakeholder management.
Allocates Resources: It makes sure you have the right people and the right budget assigned to the right tasks from the start.
Identifies Risks: Thinking through potential roadblocks ahead of time means you can have a backup plan ready to go.
Think of your project plan as the ultimate communication tool. It translates high-level business goals into an actionable roadmap that every team member can follow, minimizing ambiguity and maximizing efficiency from day one.
From Discovery to Deployment
Before we get into the nitty-gritty, it helps to understand the main stages of a website project. The table below breaks down the typical lifecycle, giving you a bird's-eye view of the journey ahead, from those initial brainstorming sessions to post-launch support.
The Core Phases of a Website Project Plan | ||
|---|---|---|
Phase | Primary Goal | Key Deliverables |
Discovery & Strategy | Define project goals, target audience, and scope. | Project brief, scope document, competitor analysis. |
Planning & Architecture | Create the blueprint for the website's structure. | Sitemap, wireframes, user flow diagrams, tech stack selection. |
Design & Content | Develop the visual identity and create all content. | UI mockups, style guides, written content, imagery. |
Development & Coding | Build the functional website based on the approved designs. | Coded templates, functional front-end and back-end. |
Testing & QA | Identify and fix bugs and ensure all requirements are met. | Test plans, bug reports, user acceptance testing (UAT) sign-off. |
Launch & Deployment | Push the website live to the public. | Go-live checklist, server configuration, final launch. |
Post-Launch & Maintenance | Monitor performance and provide ongoing support. | Analytics reports, maintenance plan, performance monitoring. |
Each phase has its own goals and deliverables that build on the last, creating a logical flow from concept to completion.
Understanding why a robust plan is critical is the first step. Next, you'll need to know how to create a project plan that ensures success from start to finish. Let's walk through how to create that very blueprint, ensuring you build the right website, on time and on budget.
Defining Your Scope and Project Requirements
Every great website project plan starts with a crystal-clear idea of what you're building and, just as importantly, why. This is where you draw your lines in the sand. Think of it as your best defense against scope creep—that sneaky, slow addition of "nice-to-have" features that blows up timelines and budgets.
Honestly, if you don't nail down the scope, your project is basically a sitting duck for endless revisions and shifting goalposts.
It all starts with conversations, not a laundry list of features. The most critical thing you can do right now is conduct thorough stakeholder interviews. Your mission is to dig deep and uncover the core business objectives. Are they trying to generate more leads? Sell products online? Or maybe just stamp their authority in the industry? The answers you get here will shape every single decision that comes next.
Translating Conversations into a Concrete Scope
Once you’ve got the business goals figured out, it's time to translate all that talk into a formal scope document. This document is your project's constitution. It spells out exactly what's included and—crucially—what’s not included. My advice? Write it in plain English that everyone from the CEO to the junior dev can actually understand.
Your scope document should clearly outline:
Project Goals: A quick summary of the main business objectives the website needs to hit.
Key Functionality: A high-level list of core features. Think e-commerce cart, a blog, or a simple contact form.
Deliverables: The specific things you'll be handing over, like a sitemap, wireframes, high-fidelity mockups, and, of course, the final coded website.
Exclusions: A dedicated section that explicitly states what's out of scope for this phase. Trust me, this part will save you headaches later.
Your scope document isn't just a formality; it's a critical alignment tool. I've seen too many projects get derailed by the "wouldn't it be cool if..." conversations. A solid scope keeps the team focused on delivering what was agreed upon from the start.
Understanding Your Audience and Competitors
Look, you can build the most beautiful website in the world, but if it doesn't click with its target audience, it's a failure. That's why defining your users is a step you just can't skip. Creating user personas—fictional profiles of your ideal customers—helps ground every decision in real human needs. I'm talking demographics, what motivates them, their pain points, and where they hang out online. These personas become your North Star for every design and content choice.
At the same time, you've got to do a little recon on the competition. Check out what your main rivals are doing online. What are their strengths? Where are they dropping the ball? You’re looking for gaps in their user experience that you can totally exploit. This isn't about copying them; it's about understanding the battlefield so you can position your own website to win.
Visualizing the Structure and User Journey
With your goals, audience, and features locked in, you can start to give the website some real structure. This usually kicks off with a sitemap, which is basically a flowchart showing the hierarchy of all your pages. It gives everyone a bird's-eye view of the site's architecture and how everything connects.
Next up: low-fidelity wireframes. Think of these as the basic blueprints for your most important pages. They’re simple, black-and-white layouts that focus purely on structure, where content will go, and how a user moves through the site. We intentionally leave out distracting design elements like colors and fonts at this stage.
Wireframing this early is incredibly cost-effective. It lets stakeholders see the user journey and give feedback on the layout and functionality before a single line of code is written. I can tell you from experience: changing a wireframe is fast and cheap. Changing a fully developed website? Slow and very, very expensive. Getting this early visual agreement is crucial for building momentum and making sure everyone's on the same page.
Building Your Timeline and Assembling Your Team
Okay, so you’ve got a solid scope document. Give yourself a pat on the back—you’ve already won a major battle against the dreaded scope creep. Now it's time to translate that "what" into the "when" and "who." This is the moment your project plan for a website shifts from a bunch of ideas into an actual, actionable timeline with a dedicated crew ready to make it happen.
First up, you need to break down those big, high-level deliverables into smaller, bite-sized pieces. Think of it like this: you create major project checkpoints, or milestones, like "Wireframes Approved" or "Development Complete." Then, you break those down even further into individual tasks. A simple task might be "Design Homepage Mockup" or "Set Up Staging Server."
This isn't just about making a fancy to-do list; it’s about creating total clarity. When tasks are small and super-defined, it's way easier to estimate how long they'll take, assign them to the right person, and see progress in real-time.
This diagram shows a typical high-level flow for getting from an initial idea to a structural blueprint for the site.
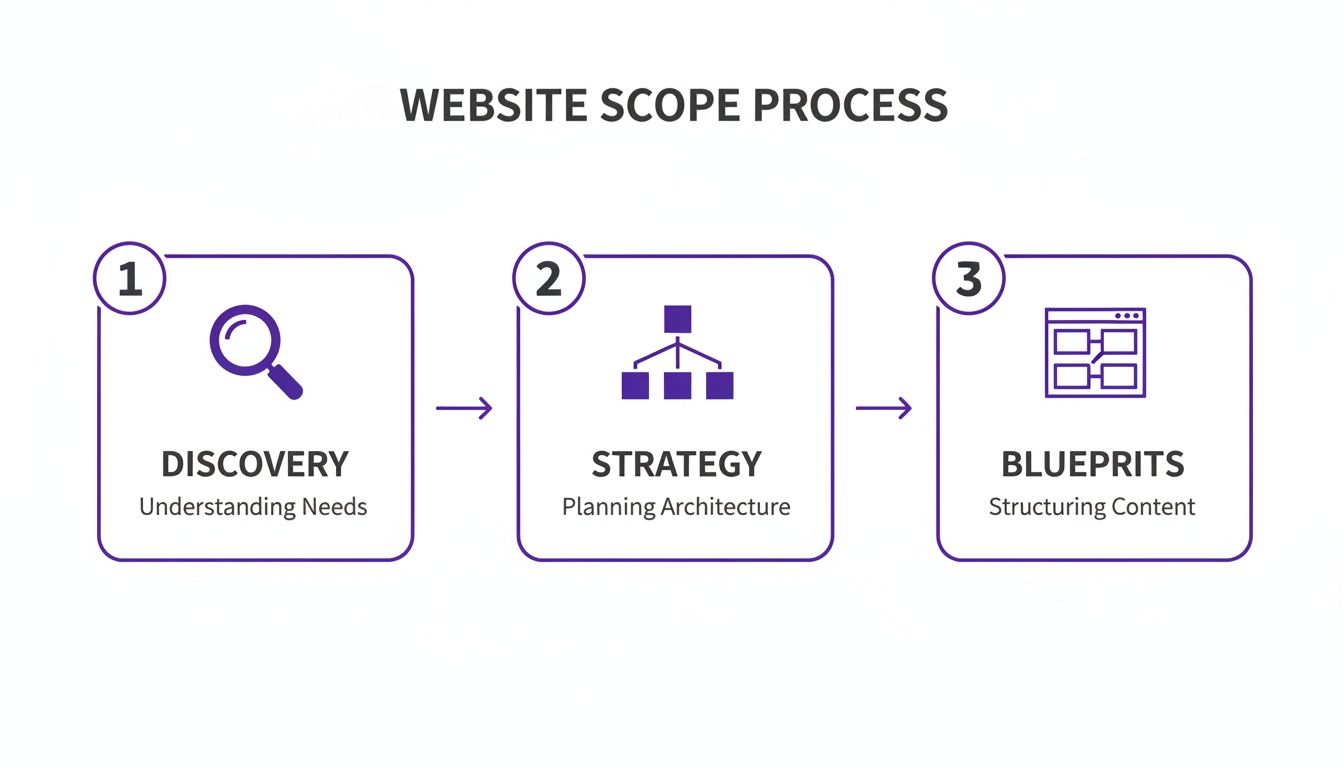
As you can see, a successful build follows a logical path, where each phase builds on the decisions and discoveries of the one before it.
Choosing Your Project Methodology
How you actually organize all these tasks really depends on your project methodology. Most teams fall into one of two camps: Waterfall or Agile.
Waterfall: This is the old-school, linear approach where each phase has to be 100% complete before the next one can even start. It’s super structured, which is great for projects with fixed requirements that you know aren't going to change.
Agile: This method is much more flexible and iterative. The project gets broken down into short cycles called "sprints," usually lasting a week or two. This lets you get continuous feedback and make adjustments on the fly. It's perfect for complex projects where things might evolve.
Honestly, there's no single "best" choice. A simple marketing site with a crystal-clear, unchanging scope? That’s a perfect candidate for a Waterfall approach. A more complex web app with lots of moving parts, on the other hand, will almost certainly benefit from the adaptability of Agile.
Visualizing Your Timeline with a Gantt Chart
Once you have your tasks and you know which ones depend on others, a Gantt chart is an absolute lifesaver for visualizing the entire project timeline. It lays out all your tasks against time, showing start and end dates, how long each will take, and how they all connect.
A Gantt chart is your project’s GPS. It doesn't just show the destination; it shows every turn, potential traffic jam (dependency), and the best route to get there on schedule. It transforms a flat list of tasks into a dynamic, visual roadmap.
It helps you spot potential bottlenecks before they become full-blown problems. If you need a hand getting started, check out this practical website development timeline template.
Defining Roles with a RACI Matrix
Putting your team together is about more than just picking people; it's about assigning crystal-clear ownership. Trust me, any ambiguity over who is responsible for what will lead to dropped balls and painful delays. This is where a RACI matrix comes in.
RACI is a simple acronym that stands for:
Responsible: The person (or people) who actually does the work.
Accountable: The one person who ultimately owns the task and is answerable for its success.
Consulted: Subject matter experts you need to get input from.
Informed: People who just need to be kept in the loop on progress.
For every major task in your plan, you assign a team member to each of these roles. For example, on the "Homepage Design" task, a UI Designer is Responsible, the Project Manager is Accountable, the Marketing Manager is Consulted, and the CEO is Informed. This simple grid wipes out confusion and makes sure everyone knows their exact role.
Alright, with a solid plan and your team lined up, it's time to jump into the most exciting part: actually building the thing. This is where all those abstract plans, wireframes, and documents start to become a real, clickable website. It’s a fast-paced stage where design, development, and content creation all happen at once, guided by the blueprint you’ve already laid out.
This is where the vision starts to feel real. All that foundational work you did on the scope and timeline is about to pay off big time, making sure every button, page, and feature has a clear purpose and pushes you toward your goals. Let's break down how to juggle these three critical streams of work.
From Blueprint to High-Fidelity Design
First up, your designers will take those basic, low-fidelity wireframes and transform them into high-fidelity mockups. Think of these as full-color, pixel-perfect designs that look exactly like the final website. They’ve got the brand colors, the right fonts, actual images, and all the interactive bits, giving everyone their first real taste of the finished product.
One of the smartest things you can do right now is to build a design system. This isn't just a style guide; it's a shared library of reusable UI components—think buttons, forms, and navigation bars—along with clear guidelines on how to use them.
Why bother? A design system delivers big wins:
Consistency: Every single page will have the same look and feel, which is huge for brand identity.
Efficiency: Designers and developers can build pages way faster by grabbing pre-approved components instead of reinventing the wheel every time.
Scalability: When you need to add new features down the road, the system makes it a piece of cake to keep everything on-brand.
A design system is really a shared language between your design and development teams. I’ve seen projects save countless hours of rework just by investing a little time here upfront. It’s the single best way to prevent the visual chaos that can creep into big projects.
Navigating Development: Front-End and Back-End
While the designers are making things pretty, your developers get to work building the website's foundation. This usually splits into two camps: front-end and back-end.
Front-End DevelopmentThis is everything your users will actually see and interact with in their browser. The devs take those beautiful high-fidelity mockups and bring them to life with code (usually HTML, CSS, and JavaScript). Their main job is to create an experience that’s responsive, accessible, and feels intuitive on any device—especially since mobile devices generate about 60% of website traffic. No excuses for a clunky mobile site in this day and age.
Back-End DevelopmentIf the front-end is the car's body, the back-end is the engine. It’s all the behind-the-scenes stuff: the server, the database, and the applications that make the website tick. A huge decision here is picking the right Content Management System (CMS). For a content-heavy site like a blog, something like WordPress is a classic for a reason. But for more complex apps that need to feed content to multiple places (like a website and a mobile app), a headless CMS like Contentful gives you way more flexibility. The choice you make should directly map back to your long-term business goals.
The Overlooked Hero: Content Creation
I'm going to say it: content is the most important part of your website, but it's almost always treated as an afterthought. This is a massive mistake. A good project plan treats content creation as a parallel task from day one, not something you frantically pull together a week before launch.
Your content strategy needs to be SEO-driven from the get-go. Here’s how that usually looks:
Keyword Research: Figure out what terms your ideal customers are actually searching for.
Content Mapping: Take those keywords and assign them to the specific pages you've already outlined in your sitemap.
Creation and Optimization: Get to writing. Craft compelling copy, blog posts, and product descriptions that are optimized for both people and search engines.
By creating content while the site is being designed and built, you make sure the words actually fit the layouts. It saves you from those awkward moments where a headline is too long for the banner or a design doesn't support the story you're trying to tell. This integrated approach means that when you finally go live, you don't just have a collection of pretty pages—you have a powerful tool that’s ready to find and convert visitors from day one.
Streamlining Reviews and Eliminating Feedback Chaos
The second you share a design mockup or a staging link, your project enters its most dangerous phase. This is where vague feedback, never-ending email chains, and clashing opinions from stakeholders can completely throw you off track. What should be an efficient build can quickly turn into a chaotic mess of revisions. A solid project plan has to anticipate this and have a structured review and quality assurance (QA) process ready to go.
Without a clear system, you're stuck trying to figure out what "make it pop" actually means or replicating bugs from a blurry screenshot someone emailed over. That old way of working isn't just frustrating; it's a massive time-suck that creates friction between your team and your stakeholders.
Moving Beyond Emails and Spreadsheets
Let's be honest—the traditional way of gathering feedback in spreadsheets or long email threads is completely broken. It forces the stakeholder to try and describe a visual problem with words, and then it's on the developer to somehow interpret that description correctly. The whole process is slow, clunky, and a recipe for miscommunication.
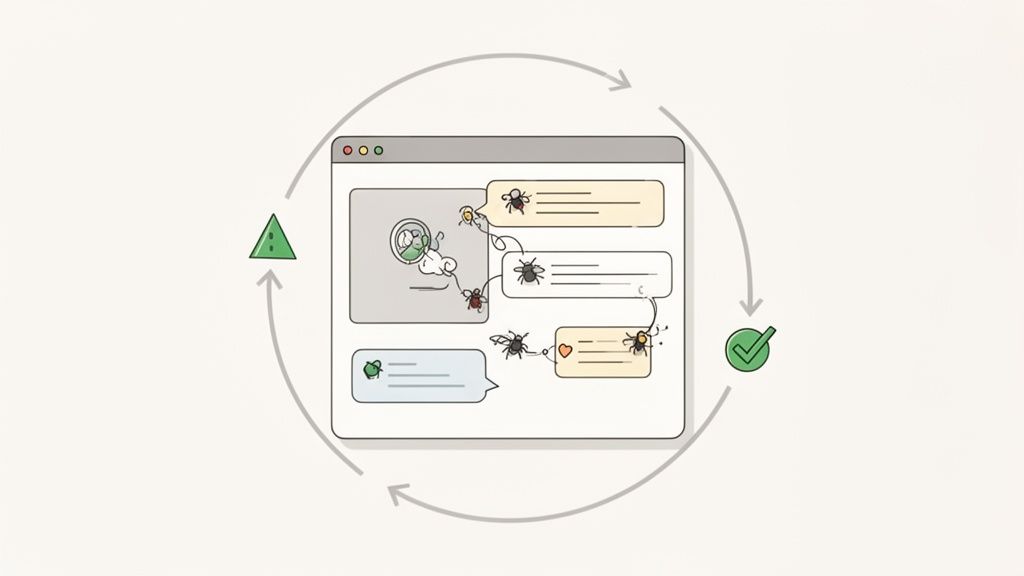
This is where modern visual feedback tools come in and change the game. Instead of trying to describe a problem, stakeholders can just point directly to it. They click an element on the live webpage, drop in a comment, and the tool automatically grabs a screenshot along with all the critical technical data. It’s a small shift that makes a huge difference in clarity and speed.
The real goal is to close the gap between someone seeing an issue and your team getting a report. When feedback is visual and has context, you eliminate all the guesswork. It can easily cut the time it takes to resolve issues in half, turning what was a chaotic review cycle into a genuinely productive workflow.
A great website annotation tool for efficient projects will automatically capture this key info with every single piece of feedback:
Browser Version: Instantly tells your developers if it's a bug specific to Chrome, Firefox, or Safari.
Operating System: Helps diagnose those annoying issues that only seem to pop up on Windows or macOS.
Screen Resolution: Pinpoints problems with responsive design on different screen sizes.
Console Logs: Gives developers the technical error messages they need without them ever having to ask for them.
Let's look at how these two approaches really stack up.
Traditional vs Visual Feedback Comparison
Aspect | Traditional Feedback (Emails, Spreadsheets) | Visual Feedback (Tools like Beep) |
|---|---|---|
Clarity | Often vague and open to misinterpretation. | Crystal clear with on-screen annotations and screenshots. |
Speed | Slow, involving back-and-forth communication. | Instantaneous; report issues in seconds. |
Technical Data | Relies on users to provide technical details. | Automatically captures browser, OS, and screen size. |
Task Management | Disconnected from project tools; manual task creation. | Integrates directly with Jira, Notion, etc., for auto-tasking. |
Developer Time | Wasted time trying to reproduce bugs. | Bugs are easier to pinpoint and fix with full context. |
The difference is night and day. Moving to a visual system just removes so much unnecessary friction from the process.
Building a Comprehensive QA Test Plan
A structured Quality Assurance (QA) process is your last line of defense before launching a buggy or broken website. Your project plan needs a detailed test plan that covers every critical part of the site’s functionality and performance. Don't ever treat QA as a quick final check; it should be baked into your development cycle from the start.
Your test plan should be a living document that outlines exactly what needs to be tested, who's testing it, and what the expected outcome is.
Key Areas for Your QA Test Plan:
Functional Testing: Does every single button, link, and form work as intended? This means methodically clicking through every user journey to make sure all the interactive bits behave correctly.
Cross-Browser and Device Testing: The site has to look and work flawlessly across all major browsers (Chrome, Safari, Firefox, Edge) and on a variety of devices (desktops, tablets, and smartphones).
Performance Testing: How fast does the site load? Slow load times are a notorious conversion killer. You need to test page speed and optimize everything from images and scripts to server response times.
Usability Testing: Is the navigation intuitive? Can people easily find what they're looking for? This often involves watching real users interact with the site to spot where they get stuck or confused.
User experience is everything. A well-executed UI can literally double conversion rates, while a shocking 88.5% of users will ditch a site that loads too slowly. The most common design mistakes, like cluttered layouts or missing calls-to-action, are easily caught with an efficient review cycle that uses structured feedback tools. This ensures the final website is optimized for both performance and user engagement.
Creating a Seamless Feedback Loop
The ultimate goal here is to create a feedback loop that feels effortless and plugs directly into your team's existing workflow. When a stakeholder leaves a visual comment on the website, it shouldn't just sit in limbo. The best tools can automatically convert that feedback into a task inside your project management system.
Picture this workflow:
A marketing manager is reviewing the new landing page and spots a typo. She clicks on it and leaves a comment.
A tool like Beep automatically captures her comment, a screenshot, and all the technical data in the background.
A new task is instantly created in Jira or Notion, assigned to the content editor, with all of that context already attached.
The editor fixes the typo, marks the task as complete, and the marketing manager gets notified.
This level of integration transforms feedback from a disruptive pain into a smooth, actionable part of the project. It keeps all communication centralized, gets rid of the need for constant status-update meetings, and helps your developers fix bugs in record time.
Your Pre-Launch Checklist and Post-Launch Strategy
You're almost there. The final push before launch is easily one of the most intense parts of any website project. It's tempting to just hit the big red button, but trust me, getting to the finish line requires more than just flipping a switch. You need a rock-solid pre-launch checklist to make sure everything goes off without a hitch.
Think of your final checks as a full dress rehearsal. This is your last real chance to catch the little gremlins that could derail all your hard work. We’re talking about squeezing out every last drop of performance, running security scans to patch up any vulnerabilities, and triple-checking that your analytics are actually installed and tracking. Skipping this is like opening a new store without a cash register—you’ll be flying blind.
Final Checks Before Going Live
Before you even think about deploying, User Acceptance Testing (UAT) is an absolute must. And no, this isn't just your internal team clicking around. You need to get real, actual end-users to play with the site. The goal is simple: confirm that what you built actually solves their problems and works the way they expect it to in the wild.
Your pre-launch QA needs to be ruthless. Here’s what you should be systematically running through:
Final SEO Audit: Are all your title tags, meta descriptions, and alt text locked in? Run one last crawl to hunt down broken links and make sure your sitemap is generated and ready to go.
Performance Optimization: Throw the site through speed testing tools again. Compress any sneaky, unoptimized images that slipped through and confirm your caching is working as it should.
Security Scans: Look for common vulnerabilities and double-check that your SSL certificate is properly configured everywhere. You want green locks across the board.
Analytics and Tracking: Make sure tracking codes from Google Analytics or other tools are firing on all cylinders. Set up goals for key conversions, like form submissions or a checkout process.
The pre-launch phase is your last line of defense against a disastrous launch day. A detailed checklist prevents last-minute panic and ensures that when you go live, you're presenting a polished, professional, and fully functional product to the world.
A huge part of this is having a clear rollout plan. Make sure you’ve put together a detailed deployment checklist that maps out every single technical step. This takes the guesswork out of the process and cuts down the risk of human error during that high-pressure launch window.
Life After Launch: Your Maintenance Plan
Hate to break it to you, but your work isn't done when the site goes live. A website is a living, breathing thing. It needs ongoing care to stay secure, relevant, and effective. If you don't have a post-launch strategy, your shiny new site's performance is going to degrade. It's not a matter of if, but when.
This plan doesn't need to be some 50-page document. Keep it simple and actionable, focusing on proactive, routine tasks.
Your maintenance schedule should cover a few key areas:
Regular Backups: Set up automated daily or weekly backups of your site's files and database. Just as important, make sure they’re stored somewhere secure and off-site.
Security Monitoring: Keep scanning for malware and apply security patches for your CMS, plugins, and themes the moment they're released. Don't wait.
Performance Monitoring: Keep an eye on your site speed and uptime. If you notice things starting to slow down, jump on it before it starts hurting your user experience and SEO rankings.
Ongoing Improvements: Schedule regular check-ins to dig into your analytics. Use those insights to plan out future content, A/B tests, or new features that actually line up with your business goals.
This kind of forward-thinking approach is what separates a great website from a forgotten one. It ensures your project continues to deliver real value long after the launch party is over.
Diving Into Common Website Project Planning Questions
When you're mapping out a new website project, a bunch of questions always pop up. Getting solid answers right from the get-go is key to keeping everyone—clients, project managers, and your team—on the same page.
So, How Long Does a Website Project Actually Take?
I get this one all the time. A standard website project usually lands somewhere between 1 to 4 months. A simple, clean marketing site might be wrapped up in a few weeks. But if you're building a more complex e-commerce beast, you could be looking at six months or even longer. It always boils down to the project's scope, who’s available on the team, and how quickly you can get feedback turned around.
What Are the Biggest Risks I Should Watch Out For?
The usual suspects here are scope creep (you know, those "can we just add..." requests mid-project), budgets getting blown, and plain old poor communication. Your best defense is a rock-solid project plan with a crystal-clear scope and a structured way to talk to each other from day one.
To nail your feedback process, assign a single person to be the main point of contact. You'll also want to set firm deadlines for each review cycle and use one central tool to keep it all organized. Visual feedback platforms are a lifesaver here; they let people comment right on the designs, which cuts way down on misunderstandings.
Stop chasing feedback through endless emails and spreadsheets. Beep lets you get clear, contextual feedback directly on your website, turning chaotic reviews into actionable tasks in seconds. Get started for free at justbeepit.com.
Comments