
.png)
How Do I Annotate Websites for Clearer Feedback
- shems sheikh
- Feb 3
- 12 min read

So, you need to annotate a website. What's the best way to do it?
The answer is simple: find a tool that lets you drop contextual feedback directly onto a live web page. I'm talking about ditching the endless cycle of screenshots, email chains, and confusing Word docs. Modern annotation is all about pointing, clicking, and commenting right where the action is. It's a visual-first approach that kills guesswork and makes your feedback crystal clear to everyone involved.
The Modern Way to Annotate Websites for Faster Project Delivery
Let's be honest, the old way of giving website feedback is fundamentally broken. We've all been stuck in that frustrating loop: grab a screenshot, paste it into a document, add some vague notes, and then email the file back and forth. It’s not just slow—it's a recipe for disaster.
Ambiguity is the ultimate project killer. When a project manager says, "the button looks off," what does that even mean? The color? The size? The text? Placement? This tiny bit of confusion forces designers and developers to stop what they're doing and ask for clarification, which means more delays and more meetings.
Shifting from Chaos to Clarity
This is where modern annotation tools like Beep completely change the game. Instead of describing an issue, you click on the exact element—a button, an image, a block of text—and leave your comment right there. Your notes are physically attached to the part of the page you're talking about.
This approach gives you a few massive advantages right off the bat:
Contextual Clarity: Feedback is linked directly to the visual element. There’s zero confusion about what needs attention.
Reduced Friction: No more jumping between five different apps to give feedback. Everything is captured and stored in one central spot.
Accelerated Timelines: Clear, actionable comments mean your team can get to work immediately instead of wasting time asking questions.
Sometimes, great feedback is backed by data. A key part of modern web annotation often involves knowing how to extract data from websites to inform your suggestions, making your annotations even more powerful.
Think of it as the difference between giving someone verbal directions and just dropping a pin on a map. One leaves room for error, while the other provides an exact location. On-page annotation is your team's GPS for web development.
This isn't just about a new tool; it's about adopting a smarter, more efficient workflow. For product managers, designers, and developers, this means fewer misunderstandings and much faster project delivery. It’s just a better way to work, ensuring every piece of feedback is clear, actionable, and tied directly to the source.
Traditional vs Modern Annotation Methods
To really see the difference, let’s break down the old way versus the new way. The efficiency gains become pretty obvious when you see them side-by-side.
Feature | Traditional Method (Screenshots & Emails) | Modern Tool (Beep) |
|---|---|---|
Feedback Context | Disconnected; requires manual descriptions and arrows. | Directly on the element; context is built-in. |
Collaboration | Messy email threads, easy to lose track of versions. | Centralized, real-time comments and threads in one place. |
Task Management | Manual process; copy-pasting feedback into a separate task manager. | Integrated; comments can be converted into tasks (Jira, Notion, etc.). |
Time to Create Feedback | Slow and multi-step (capture, save, paste, annotate, write, send). | Instant; just point, click, and type. |
Clarity | High potential for ambiguity and misinterpretation. | Crystal clear; visual reference eliminates guesswork. |
The table says it all. While the traditional method feels familiar, it’s a bottleneck that creates unnecessary work and confusion.
Making the switch to a modern tool is one of the easiest wins your team can get. You’ll immediately cut down on back-and-forth communication and empower your team to act on feedback faster than ever before.
Alright, let's get our hands dirty. It’s one thing to talk about annotating a webpage, but it’s another thing to actually do it. I’ll walk you through just how simple it is to go from a vague thought in your head to a specific, actionable comment on a live site in less than a minute.
First things first, you'll need a browser extension like Beep added to your toolkit. Once that's installed, just head over to any webpage you need to review—whether it's a staging site or a live product. Click the Beep icon, and you’re instantly in annotation mode. No more switching between apps. Your browser is now your command center.
Pinpointing the Exact Element for Feedback
Your first move is to click on the exact element you want to talk about. This is a game-changer. Instead of typing out a long description like, "the main button at the top right of the header," you just click directly on it. This pins your feedback to that precise spot, leaving zero room for confusion.
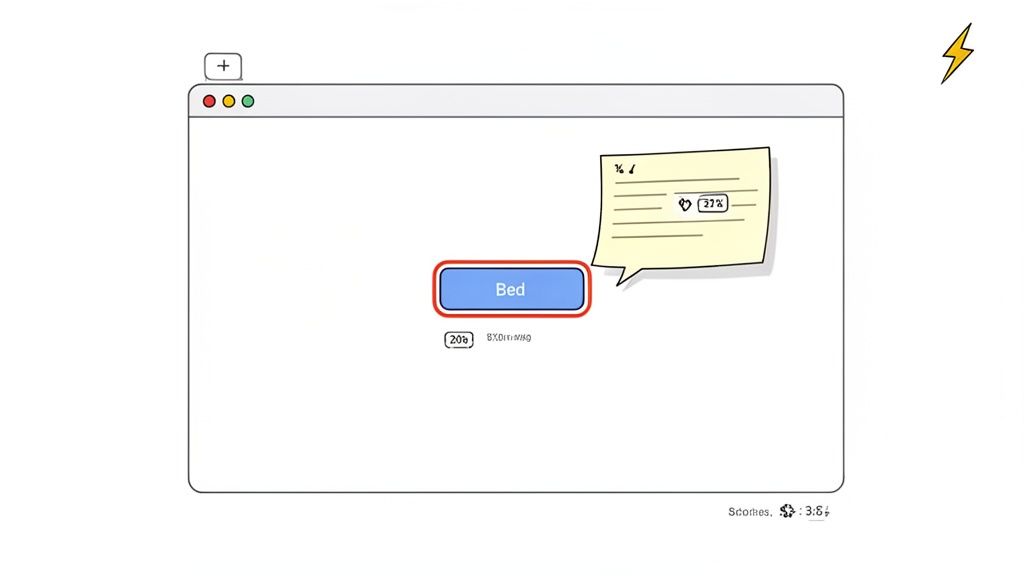
Imagine you're a designer looking over a new landing page. The padding on the main call-to-action button just feels a little off. With Beep, you simply click that button, and a comment box pops right up, ready for you to share your thoughts.
Here’s what that looks like in action. The Beep interface just overlays right on the page, letting you interact with anything and everything.
See how seamless that is? It's all happening right there on the live site.
Crafting a Clear and Actionable Comment
Once you've picked your spot, it's time to write your comment. This is where you can make a real impact by being specific. A solid annotation is short, sweet, and tells your team exactly what needs to happen.
For example, ditch vague feedback like "this looks wrong." Instead, try something like:
"Can we increase the left/right padding on this button to 24px? It feels a bit tight."
"Let's change this headline to 'Start Your Free Trial Today' for better clarity."
"This image looks pixelated on my 1440p monitor. Can we get a higher-res version?"
That level of detail turns a fuzzy opinion into a clear task someone can jump on right away.
Here's the real magic: every time you leave a comment, the tool automatically grabs all the important technical details. Things like your browser version, operating system, and screen resolution are logged without you lifting a finger. This context helps developers replicate and squash bugs up to 70% faster.
Honestly, this part is huge. It completely cuts out that annoying back-and-forth of "what browser are you using?" and lets everyone focus on fixing the actual problem. The whole process is designed to be ridiculously fast.
Getting the hang of a good screenshot annotation tool really simplifies this whole feedback loop. It ensures that every piece of feedback isn't just seen, but understood and acted on—fast.
Turning Annotations into Actionable Team Tasks
A comment is just a comment until someone does something about it. Leaving feedback on a webpage is a great start, but the real magic happens when those scattered notes turn into a structured, manageable workflow. This is where you bridge the gap between "what's wrong" and "what's next," making sure no brilliant idea gets lost in the shuffle.
When you annotate a website, you're essentially creating a visual to-do list of changes. The next logical move? Convert those annotations directly into tasks. Instead of the old, clunky process of copy-pasting feedback into a separate project management tool, modern platforms like Beep let you transform a comment into a task with a single click. This simple action preserves all the crucial context—the screenshot, the URL, and the technical data—and pushes it into a real workflow.
It’s a pretty straightforward process when you break it down.

As you can see, leaving a comment is really just the beginning. From there, it's all about project management.
Assigning Ownership and Setting Priorities
Once an annotation becomes a task, it needs an owner. I’ve seen so many projects stall because of ambiguity over who is responsible for what. A solid system lets you assign each task to a specific team member, which clears up accountability instantly.
For instance, a UX designer might drop a comment about an inconsistent font style on a button. The project manager can then immediately convert that annotation into a task and assign it directly to the front-end developer handling the site's CSS. Boom. A clear line of communication and responsibility is established.
By assigning every single piece of feedback, you completely eliminate the "I thought someone else was handling it" problem. Trust me, this simple habit can dramatically boost your team's velocity and stop things from slipping through the cracks.
With owners assigned, it's time to prioritize. Not all feedback is created equal. A critical bug breaking the checkout flow is obviously more urgent than a minor copy tweak on the "About Us" page. Your annotation tool should give you a way to organize these tasks visually, and that's where a kanban-style board comes in handy.
Visualizing Progress on a Kanban Board
A visual board is, hands down, one of the most powerful ways to see the status of all feedback at a glance. It usually organizes tasks into columns that everyone understands:
To-Do: New annotations that have been converted into tasks but haven't been picked up yet.
In Progress: Tasks a team member is actively working on.
In Review: Completed work that's waiting for approval from a QA tester or PM.
Done: Tasks that are completed, reviewed, and approved. Hallelujah.
This structure provides a single source of truth for the entire team. A developer can see their queue, a designer can track the progress of their feedback, and a project manager can get a high-level overview without calling yet another status meeting. This kind of transparency keeps everyone aligned and focused on moving the project forward, turning simple annotations into a well-oiled project management machine.
Integrating Annotations with Your Favorite Tools
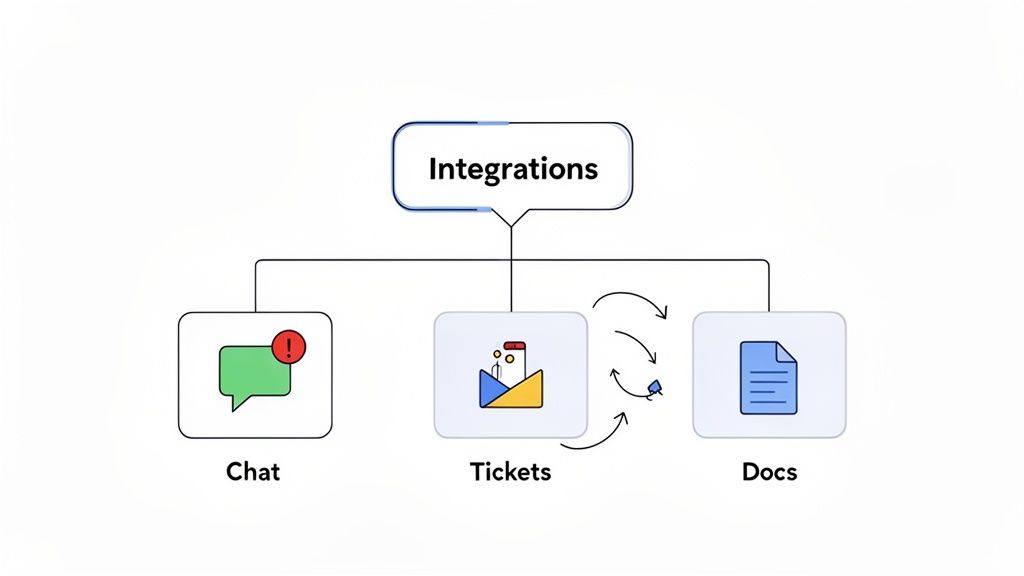
Let's be real—your annotation tool can't be an island. To actually speed things up, the feedback you collect has to flow right into the other platforms your team lives in every day. Feedback that's stuck in one app is feedback that gets forgotten.
This is where integrations are a total game-changer. By hooking your annotation tool up with apps like Slack, Jira, or Notion, you can finally ditch the soul-crushing task of copying and pasting everything manually. You’re not just marking up a website; you're kicking off a hands-free workflow that saves a ton of time and stops important details from slipping through the cracks.
Automating Communication with Slack
Picture this: a designer spots a major UI bug on the staging site. Instead of just leaving a comment and hoping someone sees it, an integration can instantly fire off a notification to a dedicated Slack channel—something like or .
This real-time ping ensures the right people see the feedback the second it’s given. The notification can even include:
A direct link right to the annotation on the page.
The comment itself for instant context.
A screenshot of the issue.
This simple connection keeps the conversation moving and everyone in the loop. The developer doesn't need to keep the annotation tool open; the feedback comes straight to them in the app they’re already glued to.
When you plug your feedback loop into your team's communication hub, you turn a passive process into an active one. It’s the difference between leaving a note on a desk versus tapping someone on the shoulder—you get a much faster response.
Streamlining Project Management in Jira and Notion
Beyond just pings and alerts, integrations can turn feedback directly into actionable tasks in your project management tools. This is where you can truly master how you annotate and manage web projects. Forget creating tickets by hand; you can set up automations to do all the heavy lifting.
For example, when a QA tester logs a bug with an annotation, an integration can automatically spin up a new Jira ticket. That ticket can come pre-filled with all the critical info captured during the annotation:
The URL where the bug was found.
The reporter's comment as the ticket description.
The screenshot attached for visual proof.
Browser and OS details to help developers reproduce the problem.
And it's the same story if your team runs on Notion. A new annotation can automatically add an item to your "Website Fixes" database or pop a new card onto a sprint board. This makes sure every single piece of feedback gets logged, tracked, and prioritized right inside your existing system.
To really nail this, it's worth exploring platforms that offer various integrations to find what works for your particular tech stack. You can also check out our guide on the top website annotation tools to see which ones have the most powerful connections.
Advanced Annotation Techniques for Power Users
Getting the hang of basic annotations is one thing, but really leveling up your workflow is a whole different ball game. To get there, you've got to move past simple point-and-click comments and start using features built for speed. This is how you turn annotation from a chore into a high-speed engine for getting projects done.
The first big leap? Keyboard shortcuts. I know, it sounds small, but constantly switching between your mouse and keyboard adds up. Those seconds bleed into minutes, and minutes into hours. Using a shortcut to pop open the annotation tool or fire off a comment can literally cut your review time in half. You'll be flying through webpage feedback sessions.
Going Beyond Basic Comments
Power users get that not all feedback needs a five-sentence explanation. A lot of the time, a quick status update is all that's required. So, instead of typing out "This is fixed," learn to love quick actions like resolving comments or approving changes with a single click. Most tools let you mark a comment as "Resolved," which tucks it away from your main view but keeps it in the history. It's the key to a clean, focused workspace.
And please, don’t sleep on bulk actions. Say a designer wants to update the primary button color across the entire site. That could easily generate a dozen different annotations. Instead of dealing with them one by one, you can use a bulk action to:
Assign multiple annotations to the same developer.
Change the status of a bunch of items at once.
Add the same tag (like "UI Polish") to a whole group of comments.
This is absolutely essential for managing feedback at scale. If you want to go even deeper, check out our complete guide to mastering screen capture and annotation—it’s packed with more advanced management tips.
Role-Specific Annotation Strategies
How you annotate should change depending on your role. A designer and a QA tester have different goals, so their feedback should look different, too.
A UX designer, for instance, might be focused on documenting a broken user flow. They can use a series of annotated screenshots to tell a story: "User clicks here, expects this, but sees this instead." It's visual storytelling.
A QA tester, on the other hand, lives and breathes precision. Their annotations have to be laser-focused on reproducibility. They’ll include exact steps to trigger a bug, what was supposed to happen, and what actually happened. That kind of detail leaves zero room for guessing games for the dev team.
Adopting these advanced habits is about more than just personal productivity. It’s about building a team-wide system where feedback is consistently clear, concise, and actionable, reducing friction at every step of the development cycle.
And trust me, these skills are only getting more valuable. The global data annotation tools market is projected to hit $14.26 billion by 2034, driven by the massive need for high-quality labeled data. With text annotation making up roughly 34% of that market, mastering these techniques is quickly becoming a core professional skill. You can dig into more stats on this market growth on fortunebusinessinsights.com.
When teams first start using visual feedback tools, a few questions always seem to bubble up. It's totally normal. Getting these sorted out early is the key to making sure everyone feels confident and your new workflow clicks right from the start.
Let's dig into some of the most common things we hear from folks.
A big one is always, "What information actually gets sent with my comment?" I get it, you don't want to overshare. Good news is, modern tools like Beep are smart about this. They automatically grab the essential tech specs with every piece of feedback—things like the operating system, browser version, screen size, and the exact URL. This is a complete lifesaver for developers trying to track down a bug. No more back-and-forth asking, "What browser are you using?"
Getting into the Weeds
Another question that pops up a lot is whether you can annotate websites that aren't live to the public. The answer is a huge yes. Because these tools are browser-based, they work on any page you can pull up. This means password-protected staging sites, internal dashboards, and even websites you're running on your local machine are fair game. It's a game-changer because you can get feedback way earlier in the process, not just after you've launched.
This whole move toward visual, integrated feedback isn't just a small trend, either. It’s a massive shift in how tech teams work. Just look at the Asia-Pacific region—it's the fastest-growing market for these kinds of tools, expected to shoot up at a CAGR of 17.86% through 2031. China alone makes up about 13% of the global market, which tells you this is a worldwide thing. If you're curious, you can dive deeper into these global market trends on mordorintelligence.com.
This growth really highlights why getting good at this is so important, which leads right into the next big question.
How to Make Your Feedback Actually Useful
So, how do you make sure your annotations are helpful and not just adding to the noise? It all comes down to being specific and actionable. Vague comments just create more work for everyone. Precise instructions? They get things fixed, fast.
Here are a few tips I've learned to make every annotation count:
Ditch the vague stuff: Instead of "this looks weird," try something like, "Can we bump the button padding by 8px to match the other CTAs on the page?" See the difference?
Assign an owner: Tag the right person. If it’s a design tweak, loop in the designer. If it’s a bug, tag a developer. This simple step makes it crystal clear who needs to take action.
Give a little context: If you're reporting a bug, quickly explain how you got there. For example, "This error pops up after I add three items to the cart and then hit the checkout button."
The whole point of annotating isn't just to call out problems—it's to offer up solutions and clear direction. When you make your feedback specific, assigned, and contextual, you turn a simple comment into a ready-to-go task. Trust me, your project timelines will thank you for it.
Once you get these common questions answered, your team can get past those initial bumps and really start enjoying a faster, more collaborative way of getting things done.
Tired of endless email chains and feedback that just creates more questions? Beep lets your team drop clear, contextual comments right on any live website, turning feedback into actionable tasks in seconds. Get started for free in under a minute and see just how much faster your projects can really move.
Comments